Download PS2 BIOS Files (USA, Japan, Europe, China) All Regions
Here’s a page where you’ll be able to download all official PS2 BIOS files from our website. Whether it’s a BIOS file from PAL regions, Japan, USA, etc, you’ll find them all below.
What is PS2 BIOS?
BIOS files are critical for PlayStation 2 emulators because they replicate the essential functions of the original console’s firmware. The BIOS handles key tasks such as hardware initialization, game booting, and system management. Without the BIOS, an emulator cannot function properly, as it relies on these processes to run PS2 games accurately and smoothly.
Download PS2 BIOS Files for All Regions – PAL, NTSC, NTSC-J
Choose the BIOS version based on your game region. All files are tested and 100% safe.
If “Download File” button doesn’t work, click on Full Pack button.

USA (NTSC-U)
Europe (PAL)
Japan (NTSC-J)
China (NTSC-C)
Steps to Use PS2 BIOS on a PC
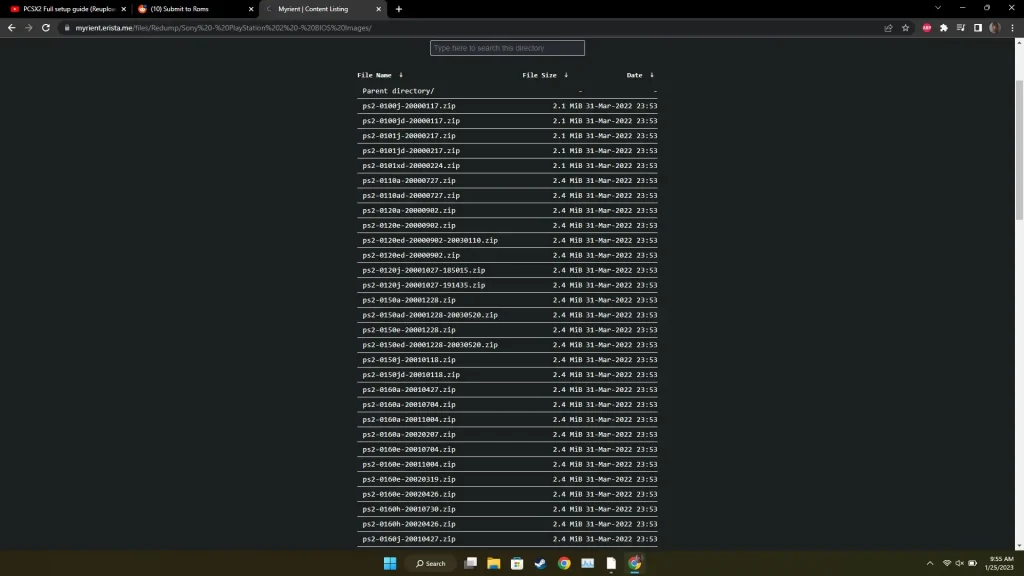
- Download the BIOS file for your region:
- Choose and download the BIOS file that corresponds to your region (USA, Europe, Japan, or China).
- Extract the ZIP file (if necessary):
- Open your PS2 emulator:
- Install and launch a PS2 emulator such as PCSX2.
- Navigate to the BIOS settings in the emulator:
- Go to the emulator’s settings or configuration menu to find the BIOS settings option.
- Select the downloaded BIOS file:
- Browse your computer to locate and select the extracted BIOS file.
- Configure and save the settings:
- Apply the settings and save the configuration in the emulator.
- Restart the emulator:
- Close and reopen the emulator to ensure the BIOS file is properly loaded.
- Begin playing PS2 games:
- Load your PS2 game ISO files in the emulator and start playing.
Common Errors and Fixes on PS2 BIOS
When it comes to using PS2 BIOS for emulation, different errors could occur. However, we’ve highlighted the common errors faced and their possible fixes.
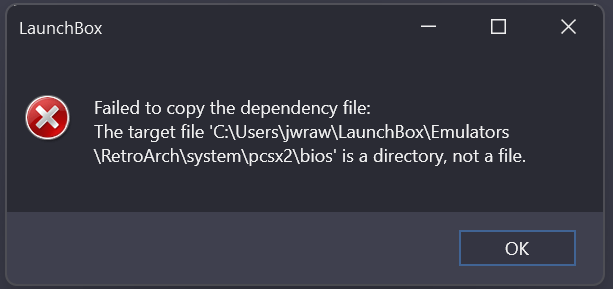
1. BIOS Not Found Error
Fix:
- Ensure that the BIOS file is in the correct directory as the emulator specifies.
- Double-check the file path in the emulator’s settings.
- Verify that the BIOS file is named correctly and matches the required format (e.g., SCPH-xxxx.bin).
2. Incompatible BIOS Version
Fix:
- Use a BIOS file that matches the region of your game (e.g., NTSC, PAL, NTSC-J).
- Switch to a different BIOS file if you have multiple versions and regions available.
- Check the emulator’s documentation for recommended BIOS versions.
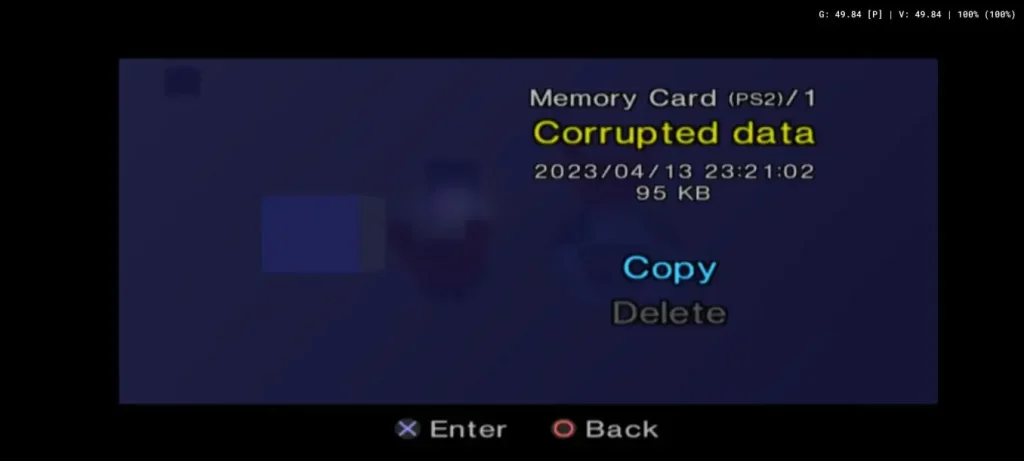
3. Corrupted BIOS File
Fix:
- Re-extract the BIOS file from your PS2 console using the BIOS dumping software.
- Ensure the BIOS file is transferred correctly without any interruptions.
- Verify the integrity of the BIOS file by checking its file size and comparing it with a known good copy.
4. Slow Performance or Stuttering
Fix:
- Update your emulator to the latest version to benefit from performance improvements and bug fixes.
- Adjust the emulator’s settings, such as enabling speed hacks or changing the graphics plugin.
- Ensure your PC meets the recommended hardware specifications for running PS2 emulators.
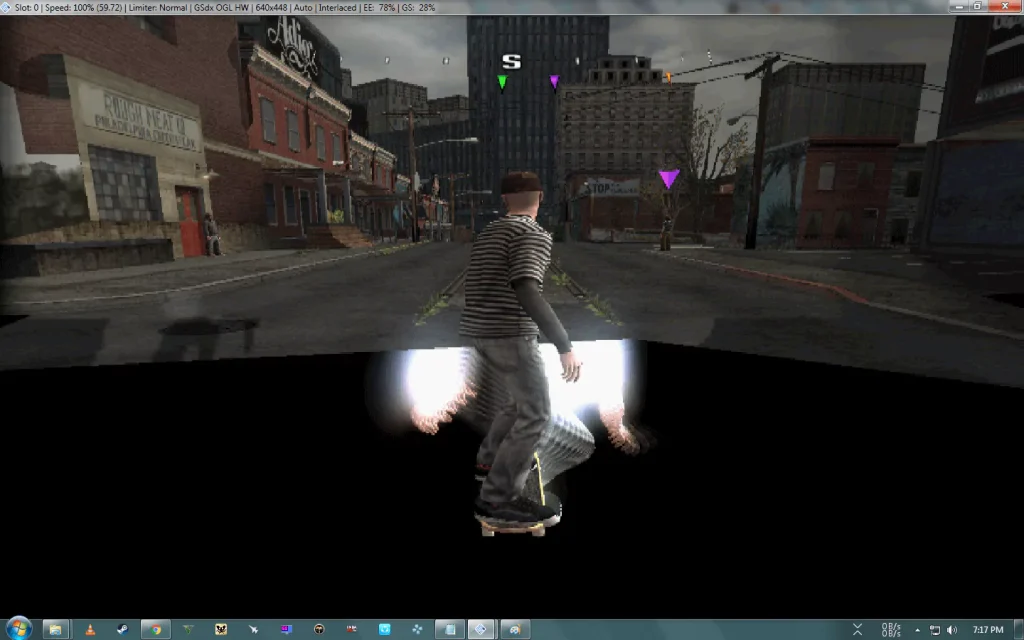
5. Black Screen on Boot
Fix:
- Make sure the correct BIOS file is selected in the emulator’s BIOS settings.
- Verify that the game ISO is not corrupted and is compatible with the emulator.
- Adjust the emulator’s video settings, such as changing the rendering mode or updating graphics drivers.
6. BIOS File Not Recognized
Fix:
- Confirm that the BIOS file is in the correct format (e.g., .bin or .rom).
- Ensure the BIOS file is properly named and does not have any extra extensions (e.g., .bin.bin).
- Re-extract the BIOS file from your PS2 console if necessary, ensuring it is a clean and complete copy.
FAQs:
Conclusion
And that sums it all up regarding downloading PS2 BIOS files from our website. If you come across any error not mentioned in the common errors and fixes, don’t hesitate to reach out to us via the comment section or send an email via the contact form.